Basic Pamphlet Stitch Books

Making basic books is a great skill to have in your toolkit; we'll use these as main lesson books for our homeschool year, but they could also make excellent simple sketchbooks for kids or grownups, blank journals, or a place to store lists, recipes, and anything else you'd like to keep track of in one place. Especially as drawing books for little ones, the simplicity and custom nature of a book like this makes them delightfully collectible; instead of stacks of loose papers or less attractive spiral notebooks, you can keep your child's work in these books as collections of their creativity and development, easy to label, simple to store, and nice to look at, too.
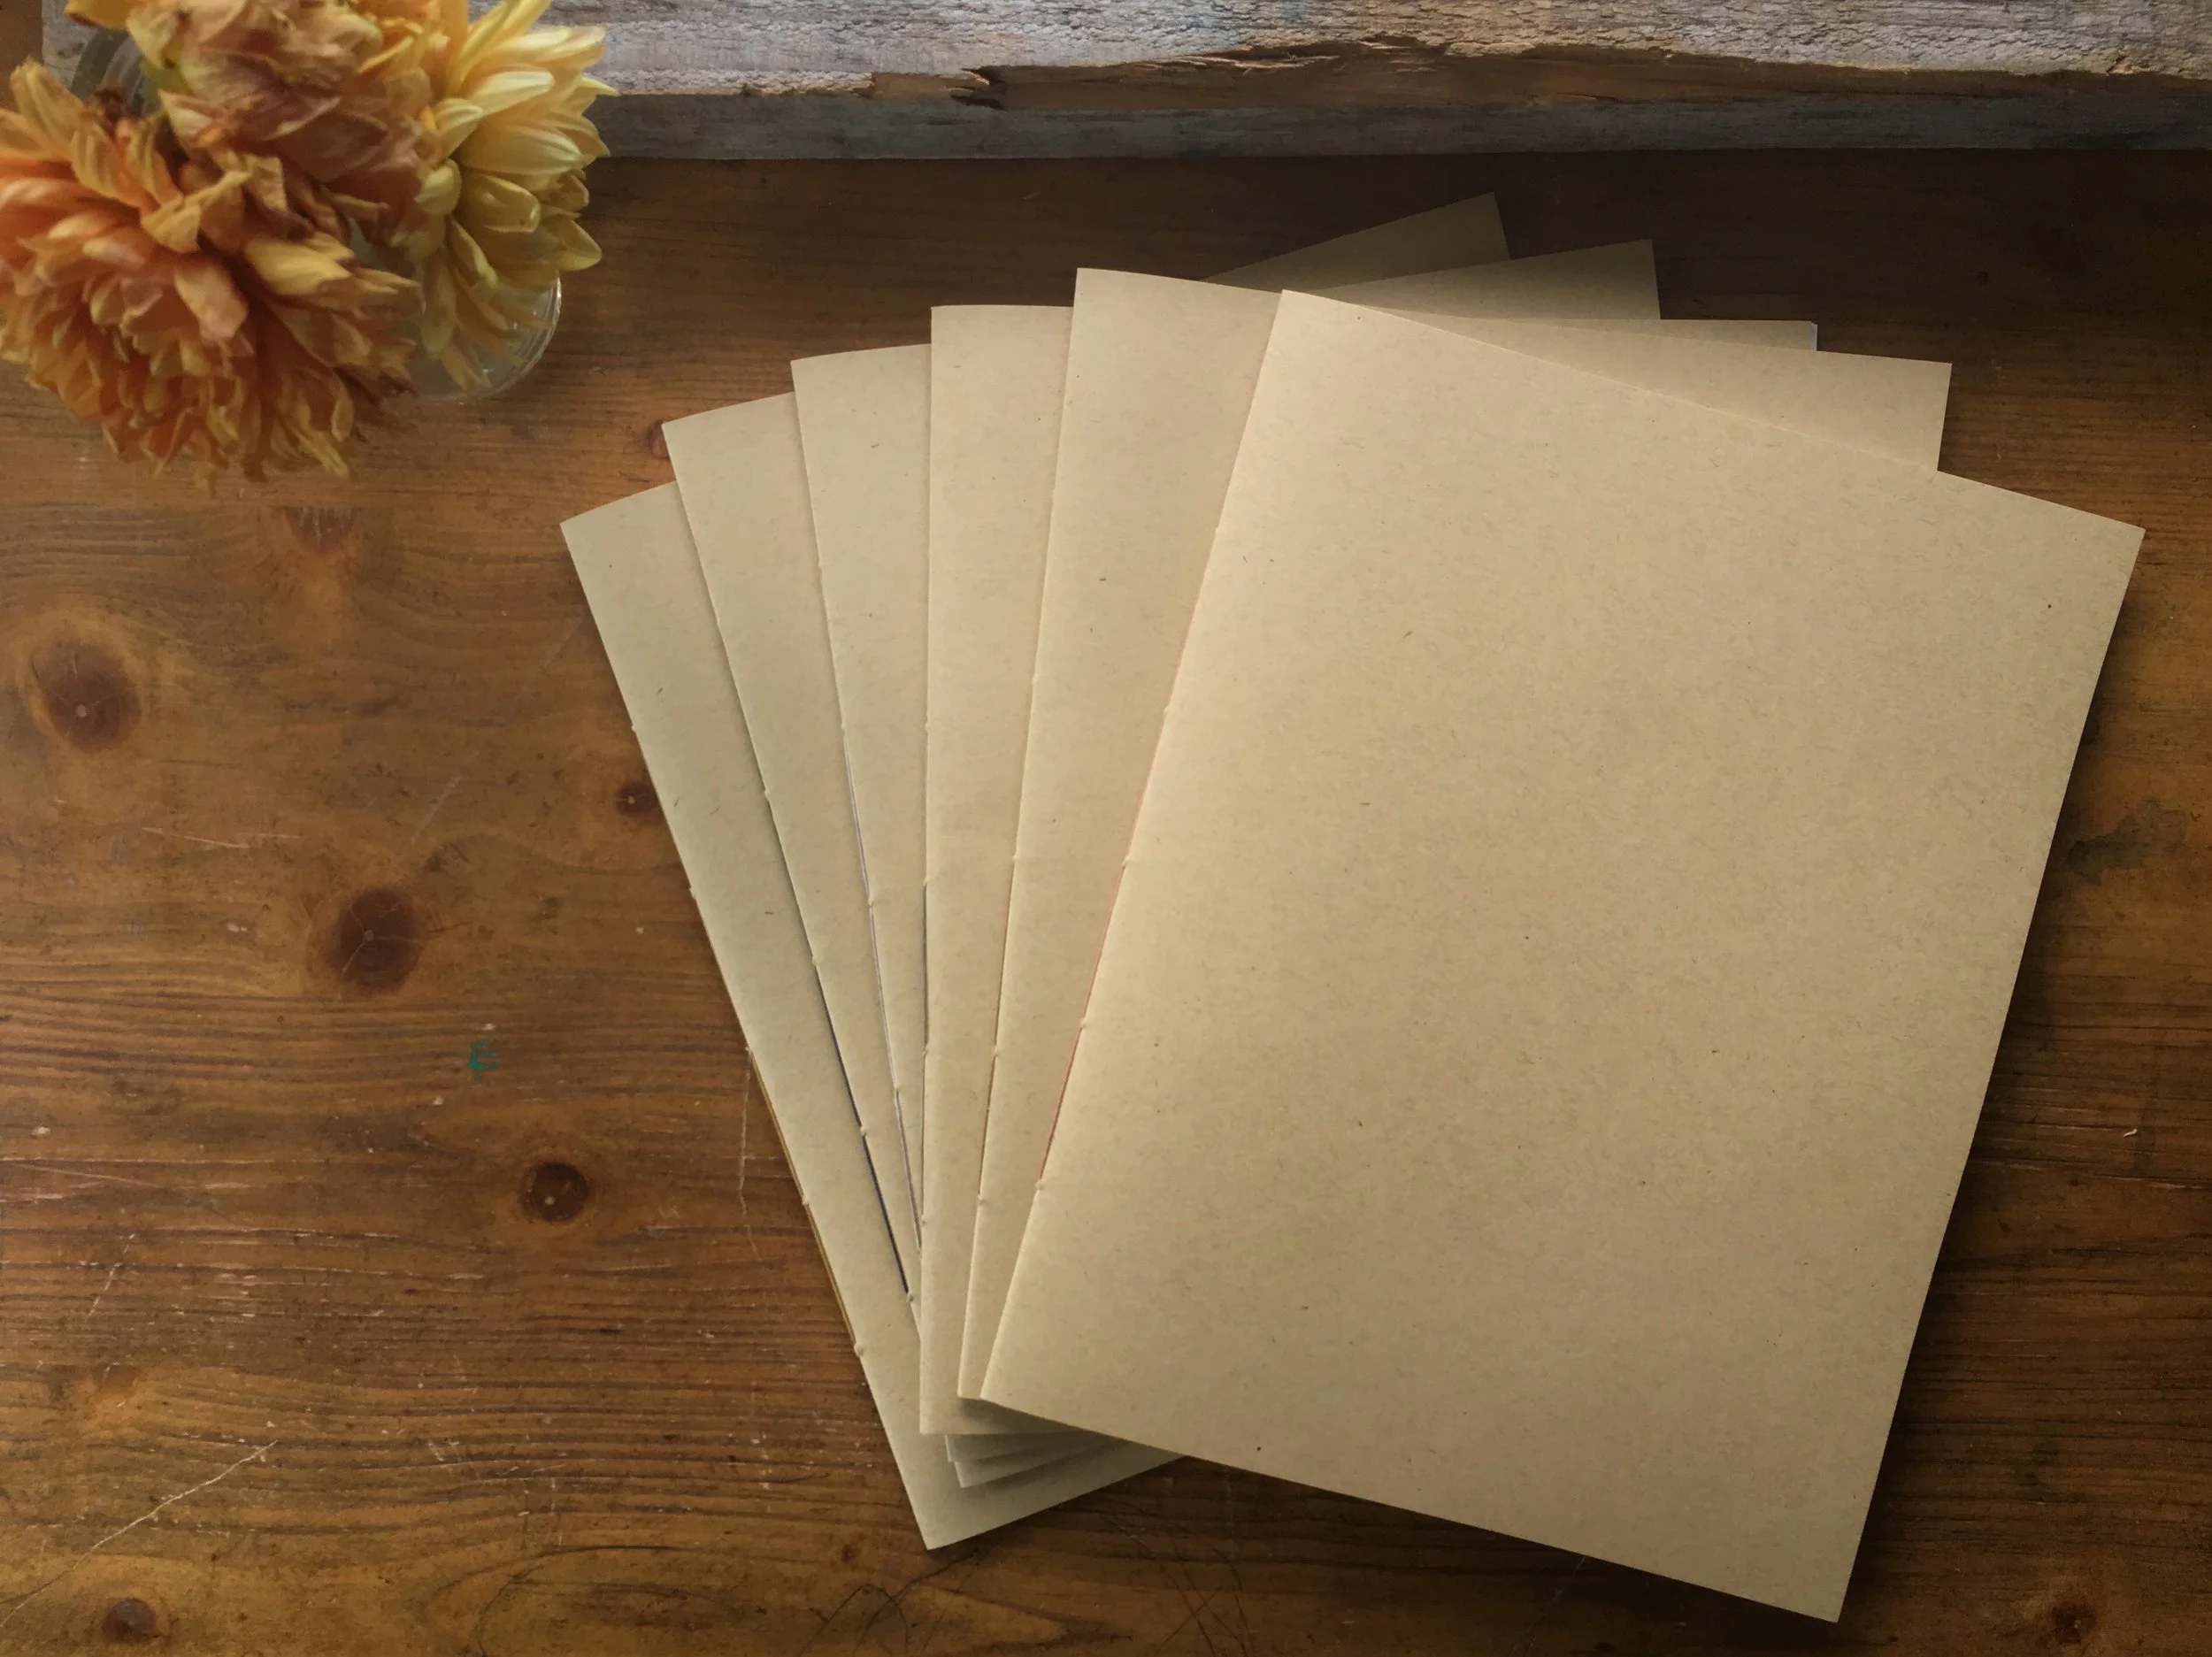
For these main lesson books, I am using 12 1/2 x 19" paper folded in half to make nice, large books.

Gather your supplies:
Blank paper for the pages and decorative paper or cardstock for the cover (Note: you can use any size paper you'd like here. The instructions are the same whether you are making a pocket-sized book for notes or a full-sized sketchbook) , a needle with a large hole (these are my favorite bookbinding needles but hand-sewing needles will work just fine too), scissors, a bone folder if you have one, an awl, string or thread for binding (I am using sashiko thread here, but anything you have on hand will do. Even thin thread can be doubled or tripled to make a suitable binding thread), and beeswax (optional).
Begin by folding your pages in half. A bone folder will provide crisp folds, but your fingernail works well too. I recommend using no more than ten pages for each book, or your book may not close flat. Fold two sheets at a time, then nest the pages inside one another to create what is called a signature.
Fold your cover in half and nest your signature inside the cover sheet.

Use an awl to make five holes in the crease of your signature. You can measure the distance between the holes to ensure they are equal, but I prefer just to use my eye. Make one hole in the center, then two holes above and below the center hole.


Once your holes are established in the crease of the book, we refer to them as stations. Beginning from the top and moving downward, we will refer to them as you're binding as stations one (top), two, three (center), four, and five (bottom).
You can now begin sewing your book together. Wax your thread if desired (the wax allows the thread to pull more smoothly through the holes, and the maintain a smoother texture over the life of your book), and thread your needle to begin. Do not knot the end of your thread.
Begin by inserting your needle into station three from the inside of the book and pulling to the outside, leaving a tail at least 3" or so in length.

Bring the thread in from the outside to the inside at station four, and then back to the outside through station five. Be sure the tail of your thread does not pull through the center station as you work.

Insert the needle back into station four from the outside, and (passing station three at the center) bring it up to station two and pull through to the outside through station two.

From the outside, pull the thread in through station one, and then back out through station two.
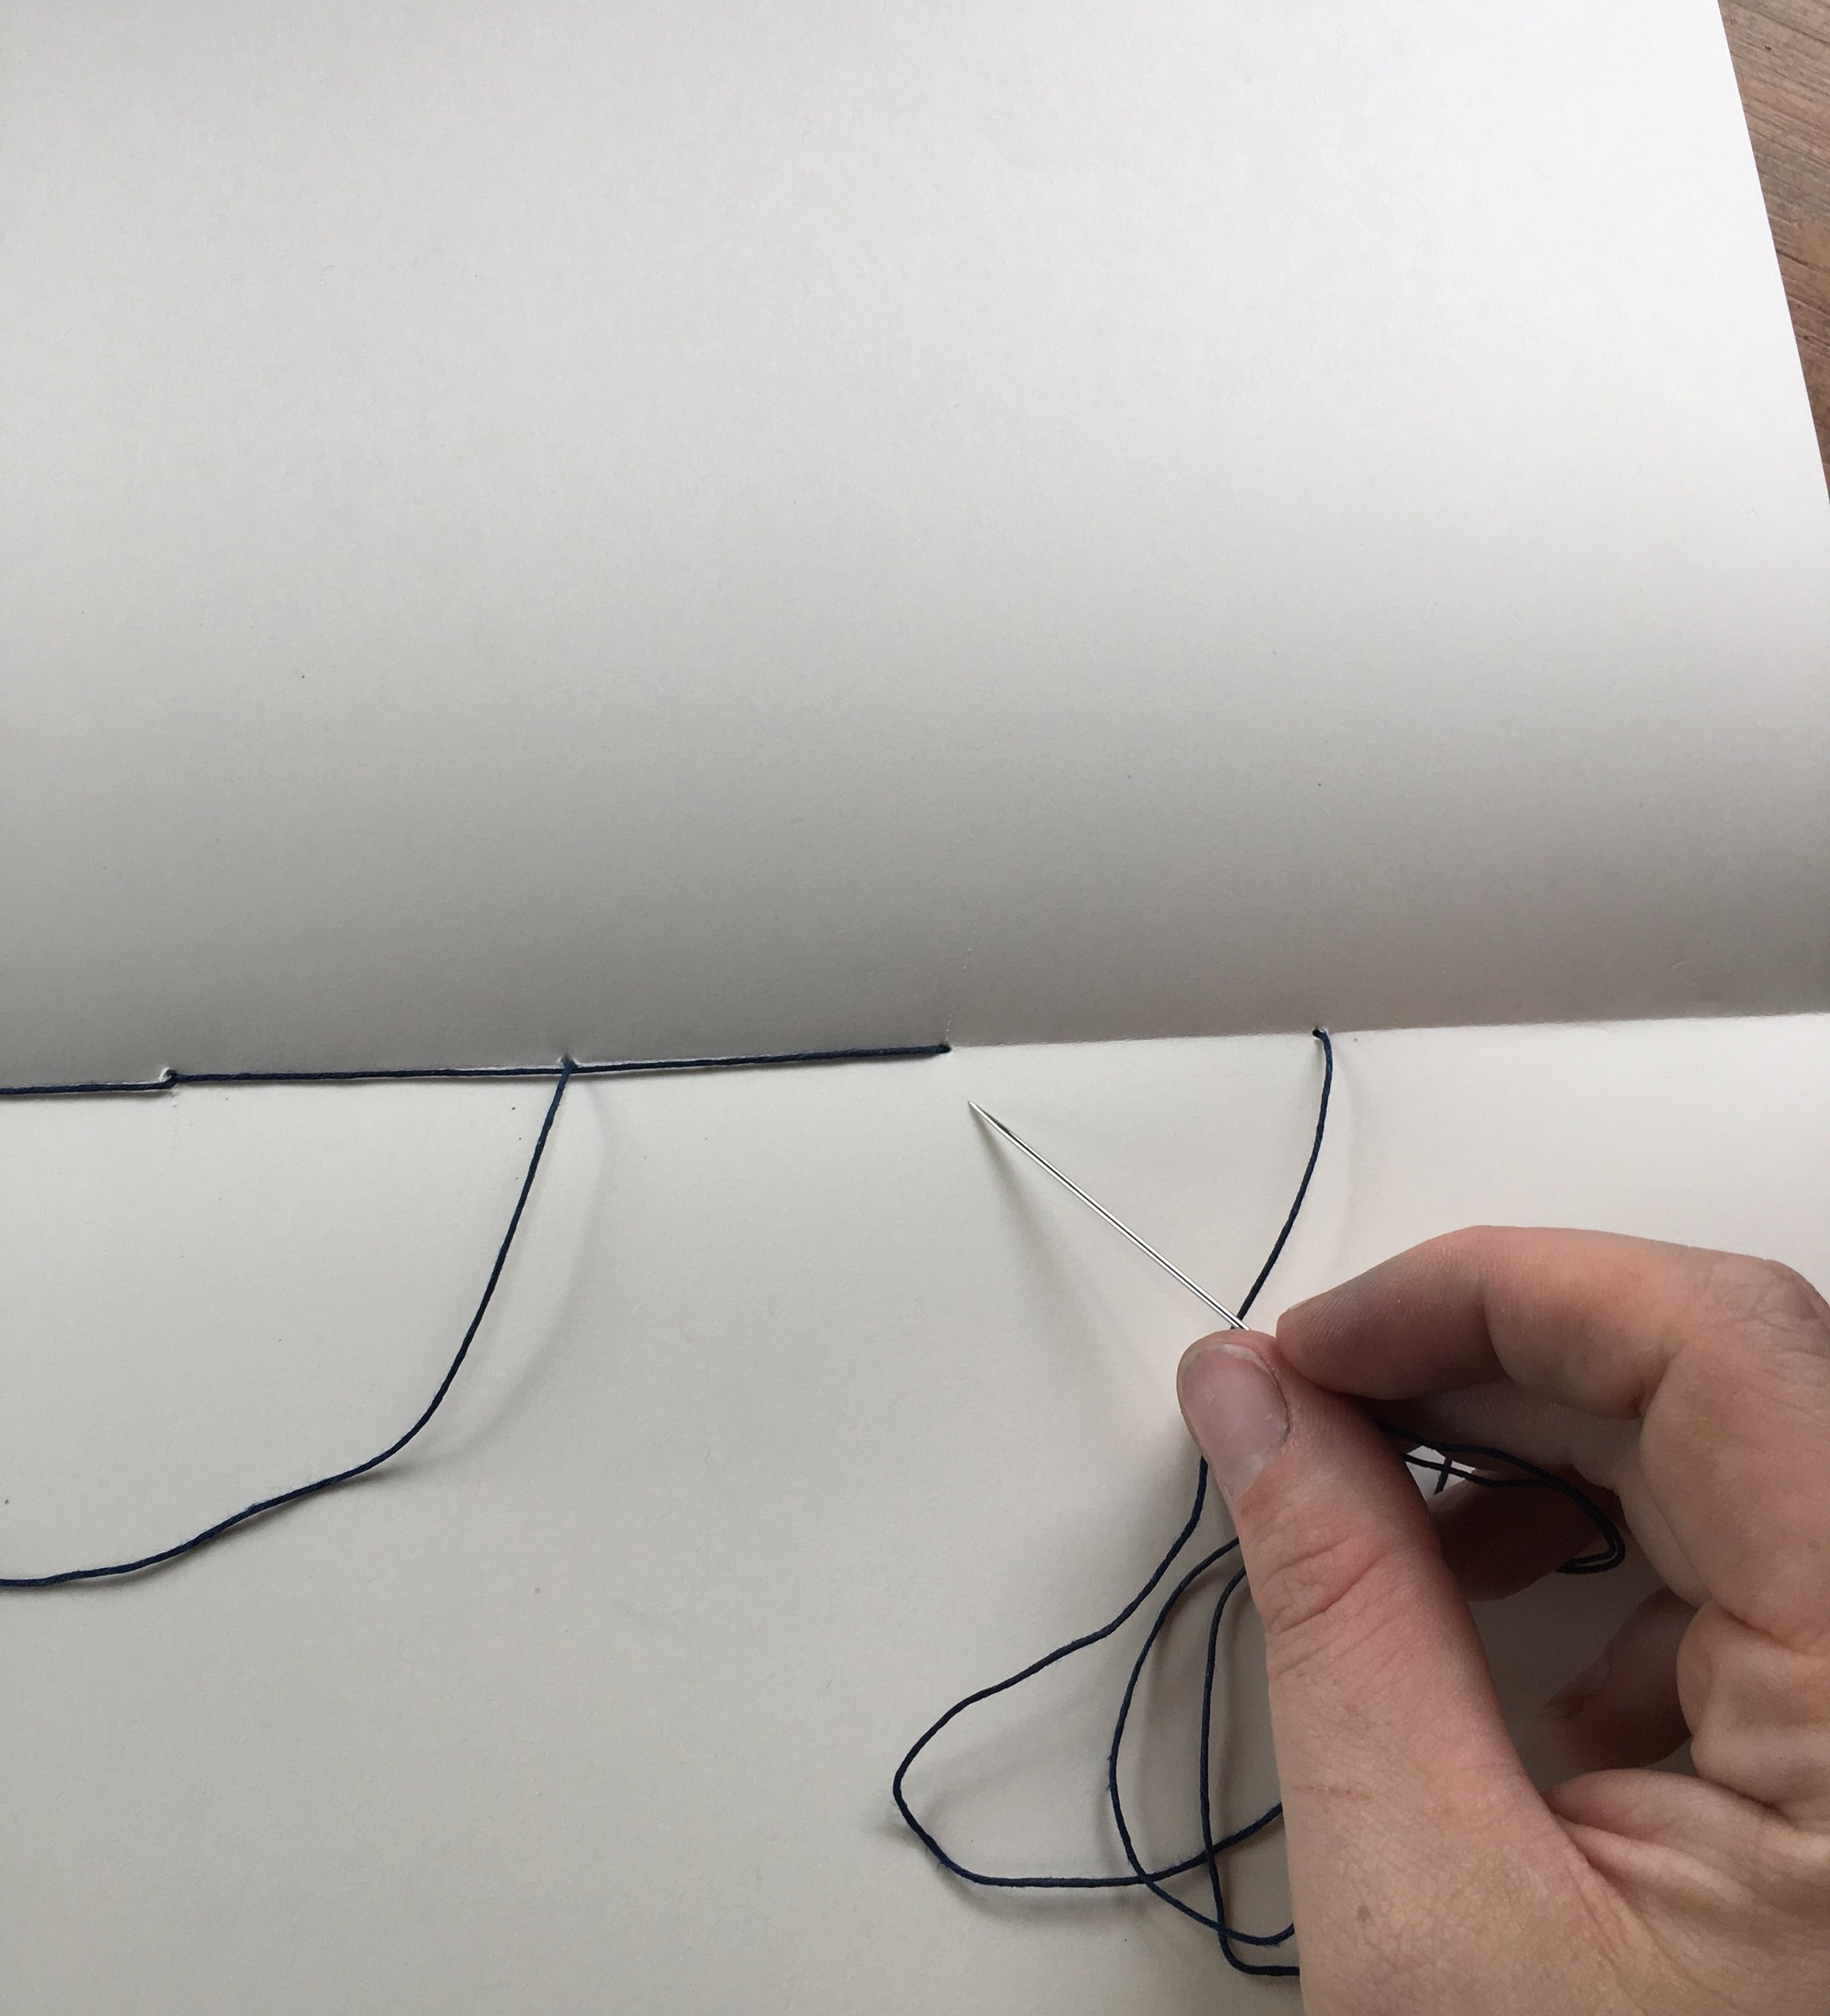
Finally, pull the thread back toward the inside through station three. Make sure your thread is taut across each station in the front and back, and then knot it together with the tail you left at the beginning. Trim the ends so only 1-2" of thread remain.

You can now trim the edge of the book so that the pages are even with the cover, or begin using as is.